Caveman's Watch Forum


Watch review : A Caveman-Modded Swatch Irony


July 15, 2012 01:26PM

Sure this is another one from the generous donation that me PMWF Bro. UKRower recently made to Ricky Lee's Home For Wayward Wristwatches. This (and it's yellow-dialed brother) are the very first Irony models I have ever owned.

The watch arrived "dead", but with a fresh #394 in place all was Right With The World. Let's have a look-see, shall we?


Photo by Ricky Lee
Click HERE for larger photo or HERE for supersized photo

A little dark there, but the center portion of the hands do tend to disappear into the dial thus, so from that standpoint it's a pretty accurate representation of the watch. Here's another angle:

Photo by Ricky Lee
Click HERE for larger photo or HERE for supersized photo

Took me a minute to warm up to the "typewiter font", but I've come to rather enjoy it.

Now 'tis no secret that with a wrist like an ankle, Swatches never fit me. With this one, however, there was at least a chance..


Photo by Ricky Lee
Click HERE for larger photo or HERE for supersized photo

..since the OEM fitment was a bracelet. But turns out that extra links for a Swatch ain't that easy to come by. Not that I mounted an exhaustive search, mind. But with, say, a Citizen or Seiko or even a Croton, they're just a phone call or eMail away. Anyway, while no deal-breaker, I ain't that fond of folded link bracelets.

So that brings us to the Caveman Mod part of the post.

After pulling the bracelet, I broke out yon Dremel® Tool, and mounted a 24mm X 1mm abrasive cut-off disc. I made the first cut parallel to the dial, centered on the "middle" lugs. This let me establish a straight line while the lugs were still attached solidly. The next cut was offset 90° (perpendicular to the dial) and again centered on the middle lugs. Do it right and..


Photo by Ricky Lee
Click HERE for larger photo

Voilà! A pair of wedge-shaped bits formerly known as lugs will fall away. Repeat for the other side.

Now the real fun begins!


Photo by Ricky Lee
Click HERE for larger photo or HERE for supersized photo

The lug cavity is dished a bit, so you'll have a straight ledge left. Use the side of the wheel to true up your line, if needed. Then carve the ledge away with a sort of "dipping" motion. Easy does it!

Photo by Ricky Lee
Click HERE for larger photo or HERE for supersized photo

I did nick the sides of the primary lugs a bit, as you can see. In retrospect I should have reduced the diameter of the disc down to 14mm or so before performing the "dishing" operation. But The Camera Is Merciless and, once a strap is mounted, you'd never notice the nicks.

Another view..


Photo by Ricky Lee
Click HERE for larger photo or HERE for supersized photo

..which shows the vestiges of the ledge the pruned lugs left behind. Again, once a strap's on, no problem.

After cleaning the edges up with a #4 file, now it IS time to mount the strap!


Photo by Ricky Lee
Click HERE for larger photo or HERE for supersized photo

You may recall, Dear Constant Reader, that when I did this mod on my plastic-cased Swatches, I used conventional springbars the first time, while the second victim got OEM solid bars. Each has Pros And Cons. The springbars make battery changes much easier, for example. But the OEM solid bars are pretty much bulletproof! I can't imagine one ever failing.

My solution here? Use both! Removing the one springbar is all you need to access the battery hatch, and the solid bar means that the attachment is still effectively guarded against a springbar failure.


Photo by Ricky Lee
Click HERE for larger photo or HERE for supersized photo

This example had a well & truly trashed crystal, and that cyclops sure complicated the polishing! But with care and patience, it turned out quite good.

Photo by Ricky Lee
Click HERE for larger photo or HERE for supersized photo

Full SS case, of course, and just slightly larger than what I've come to think of as "Standard Size", at 37.5mm X 43mm X 11.5mm thick, with 17mm lugs.

All in all..


Photo by Ricky Lee
Click HERE for larger photo or HERE for supersized photo

..'tis a winner IMHO! It certainly wears Grrrrrrrrrrrrrrrrrrrrrrrrrrrr8!

Thanks for readin' y'all! thumbs up

Sláinte! smileys with beer

-Ricky


"A watch should be worth looking at even when you already know the time" - vintage Omega ad

Messages In This Thread

Review: A Caveman-Modded Swatch Irony Caveman001 299 July 15, 2012 01:26PM
Remember the Fox show Millenium? That font reminds me of that show...
Not to far from the xfiles either!!! eye popping smiley
dano0 32 July 15, 2012 01:29PM
Nice work, Chief.
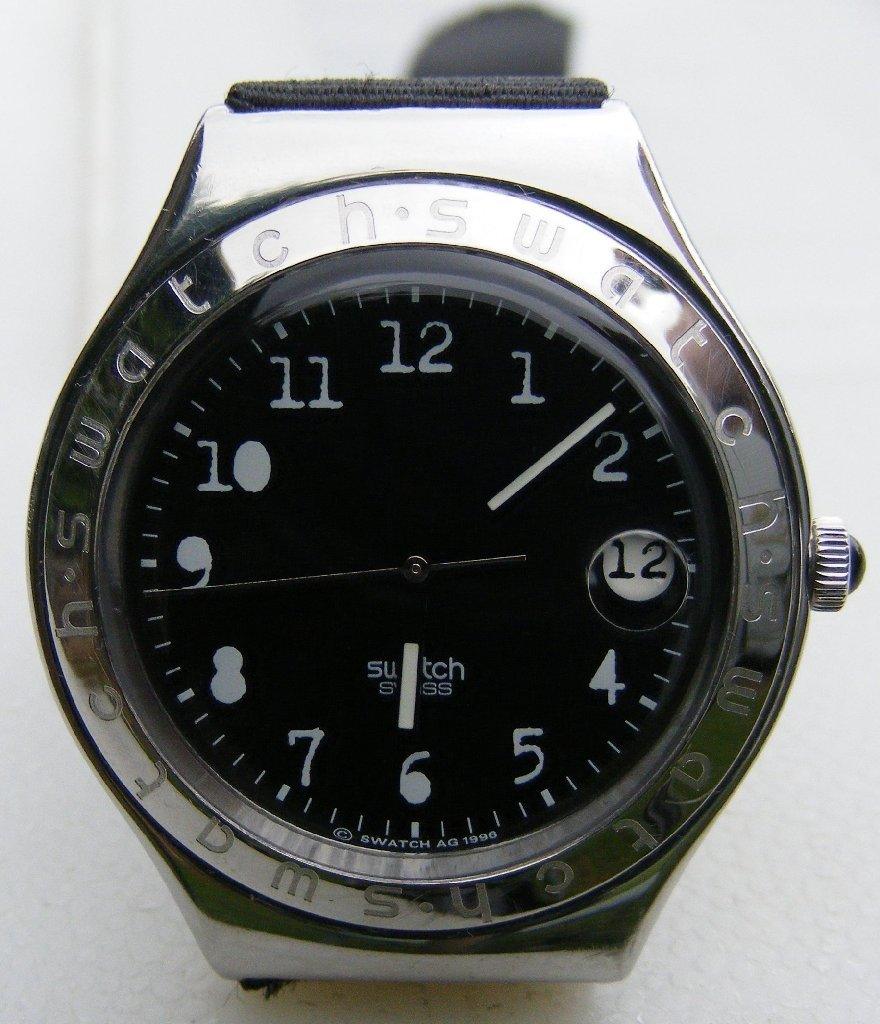
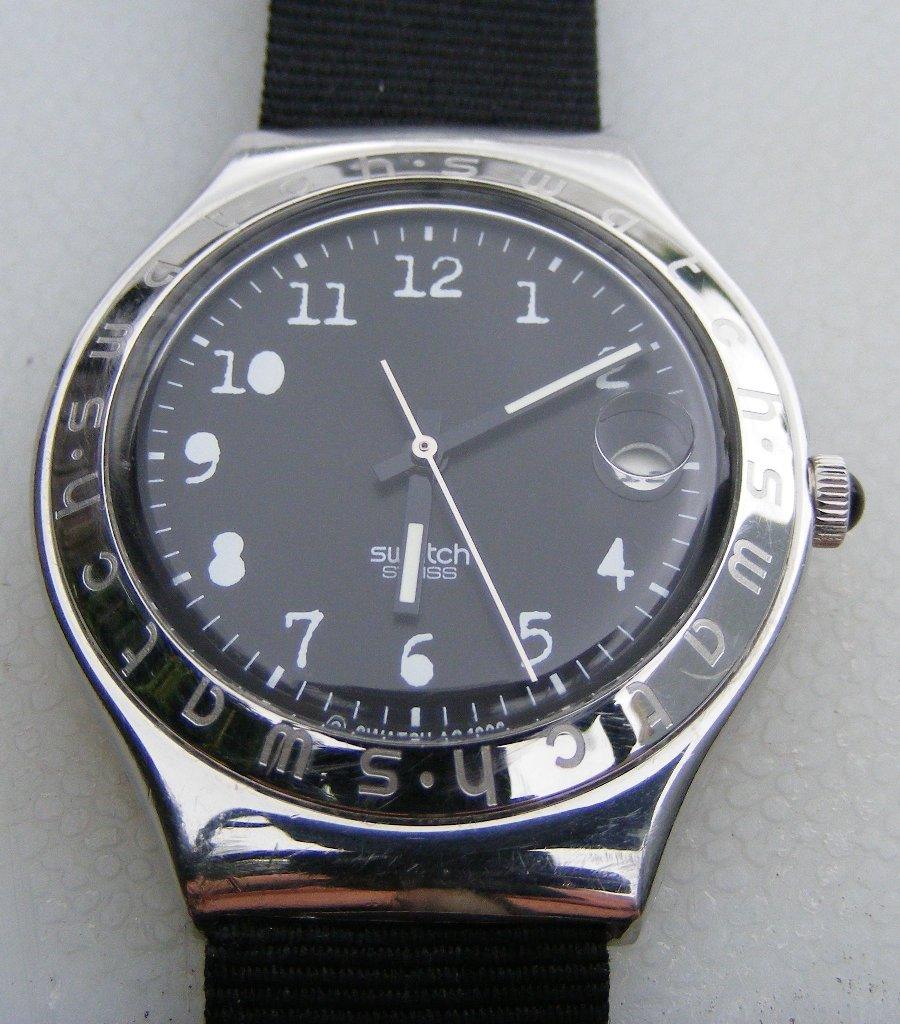
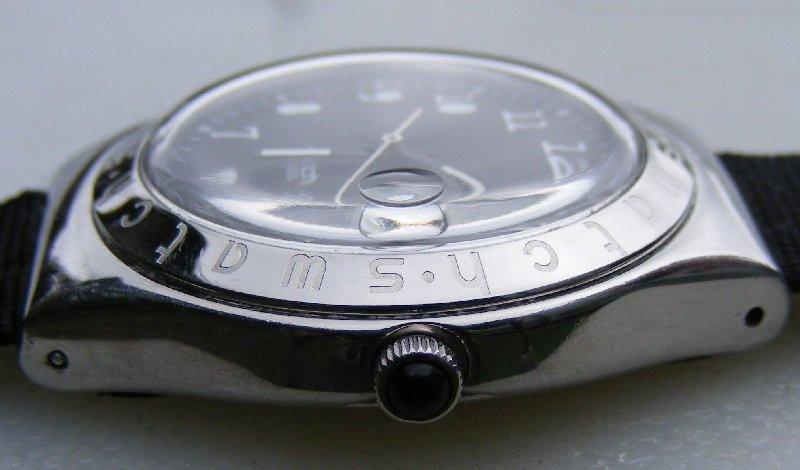
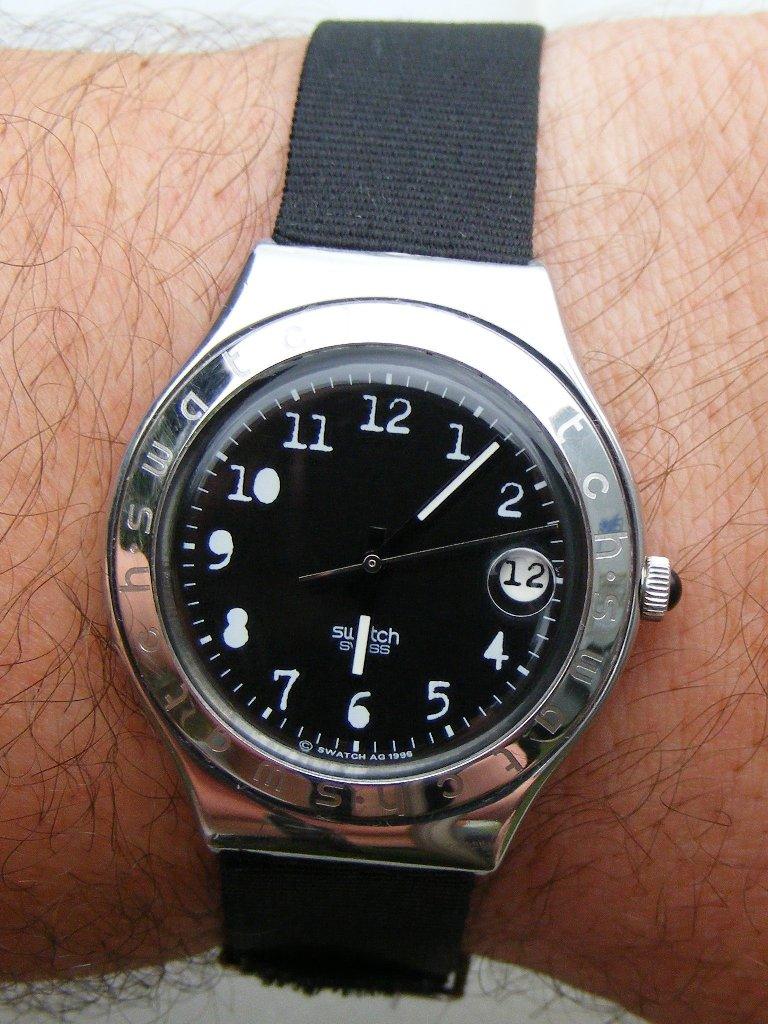
The typewriter graphics are growing on me too.

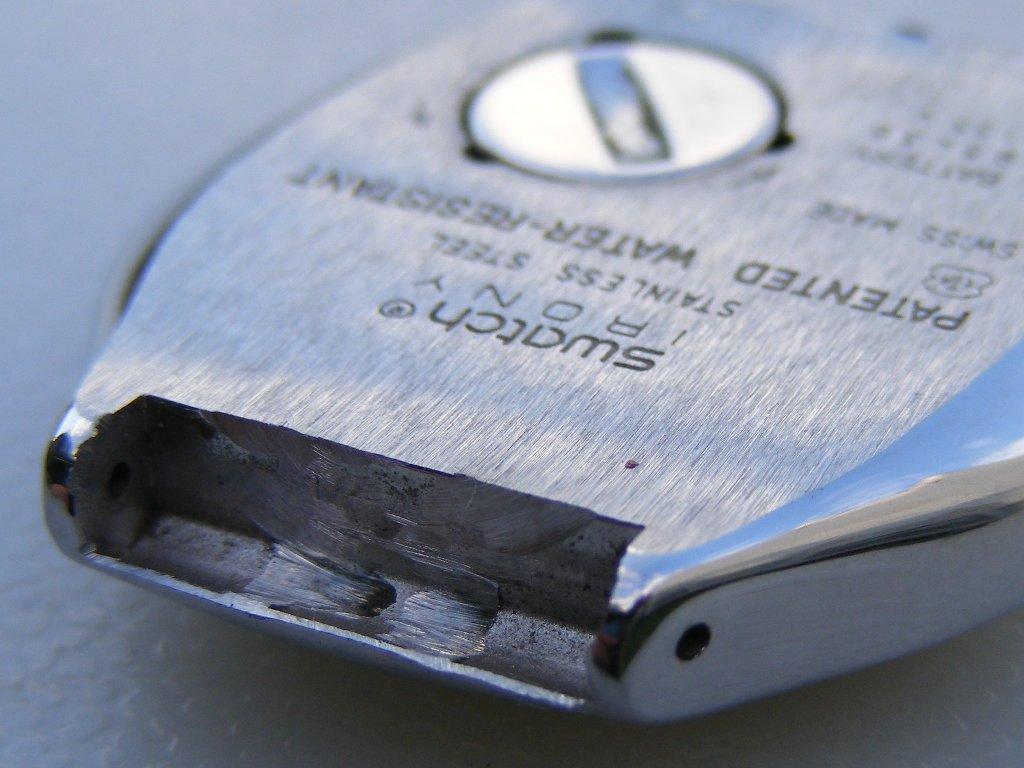
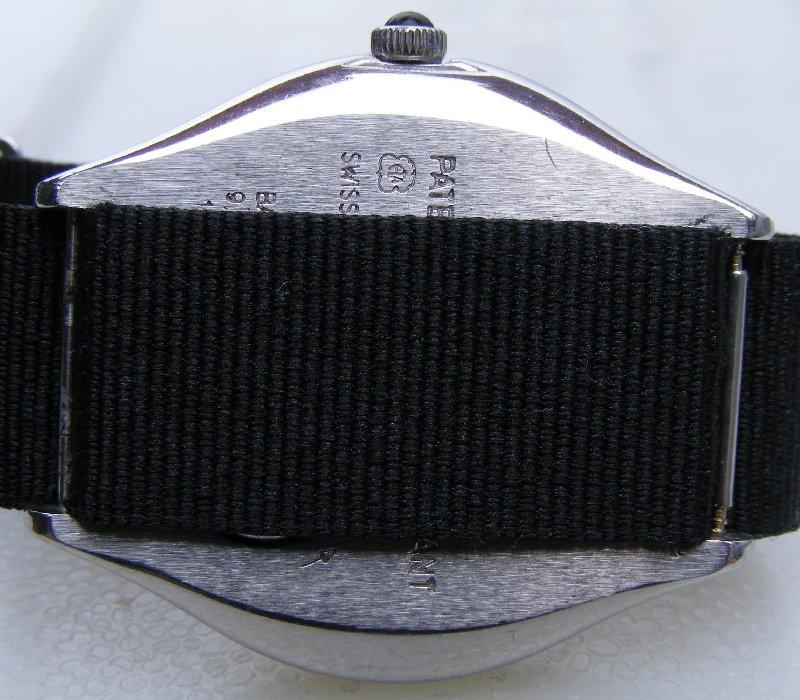
What did you use for polishing compound?

It looks like you shoehorned an 18mm NATO in there. Swatch made every attempt to prevent the use of aftermarket parts (lugs, 17mm) but they are no match for a caveman.

You are truly a master with quartz watches. thumbs up
Smaug 35 July 15, 2012 01:34PM
Re: What did you use for polishing compound?
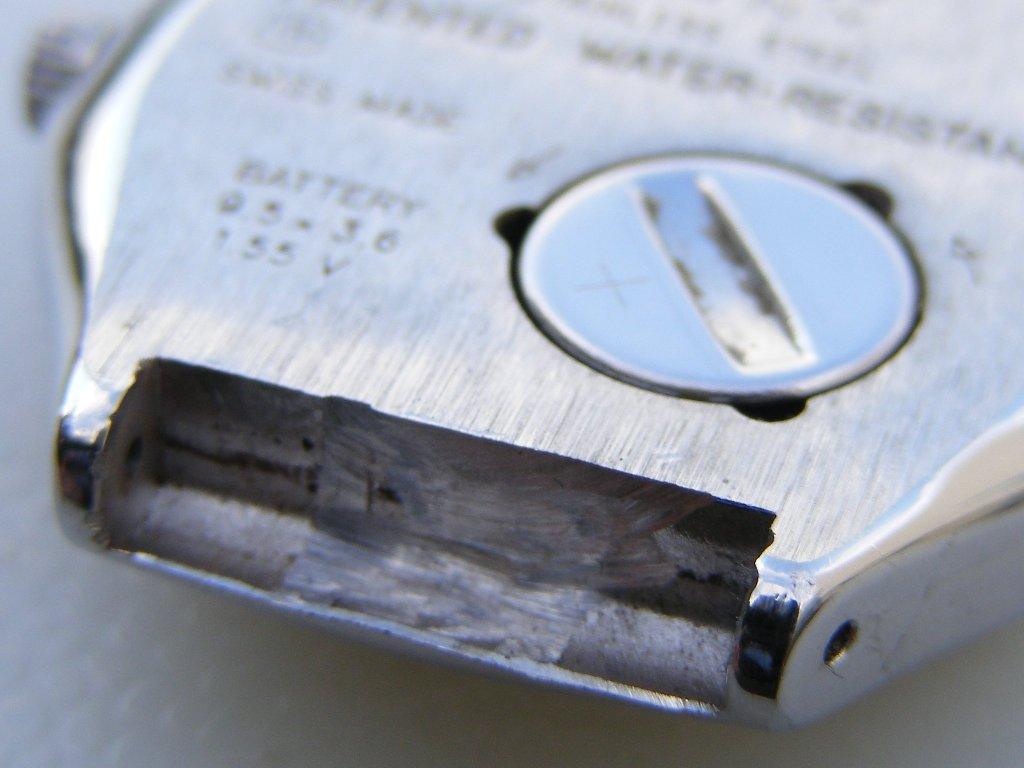
3M wet-dry sandpaper in descending order of coarseness, and used wet. 400, 600, 800, 1200, then Brasso®, and finishing up with Crest® Ultra-Whitening toothpaste.
Quote
Smaug
It looks like you shoehorned an 18mm NATO in there.
You are correct, sir.
Quote
Smaug
Swatch made every attempt to prevent the use of aftermarket parts (lugs, 17mm) but they are no match for a caveman.
grinning smiley
Quote
Smaug
You are truly a master with quartz watches. thumbs up
Ahhhhhhh, shucks, 'twasn't nothin'... winking smiley
Caveman001 60 July 15, 2012 03:51PM


< Back to My Watch Collection >