Poor Man's' Watch Forum
An ![]() post especially for
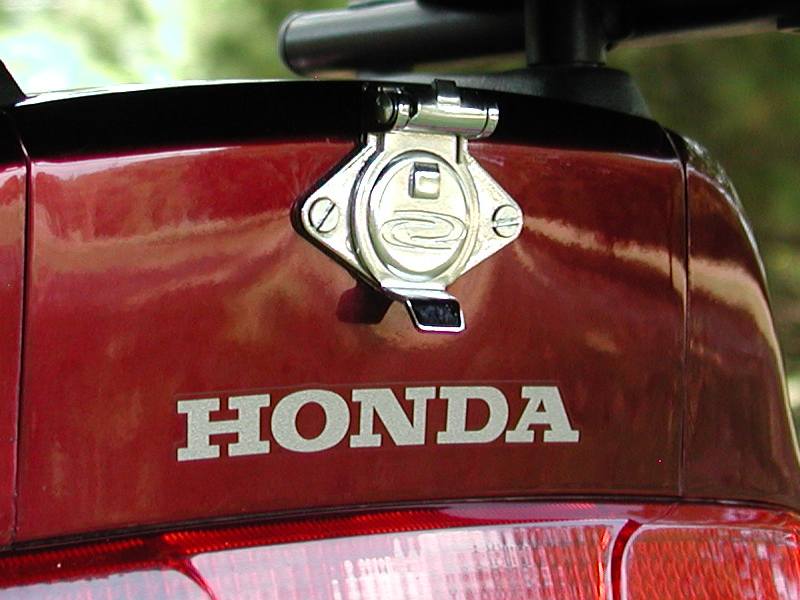
Bob Makus: Proof that I don't need a Goldwing.
post especially for
Bob Makus: Proof that I don't need a Goldwing. ![]()
![]()
![]()
Posted By: Ricky Lee McBroom
Date:
Wednesday, 19 July 2006, at 11:32 p.m.
Couple of weeks ago I bought a Harbor Freight trailer (lightly used, $100) with the intent of turning it into an inexpensive bike trailer. Didn't do anything with it for more than a week, at which time Google turned up this page.
And what a find that was.. Yippee!
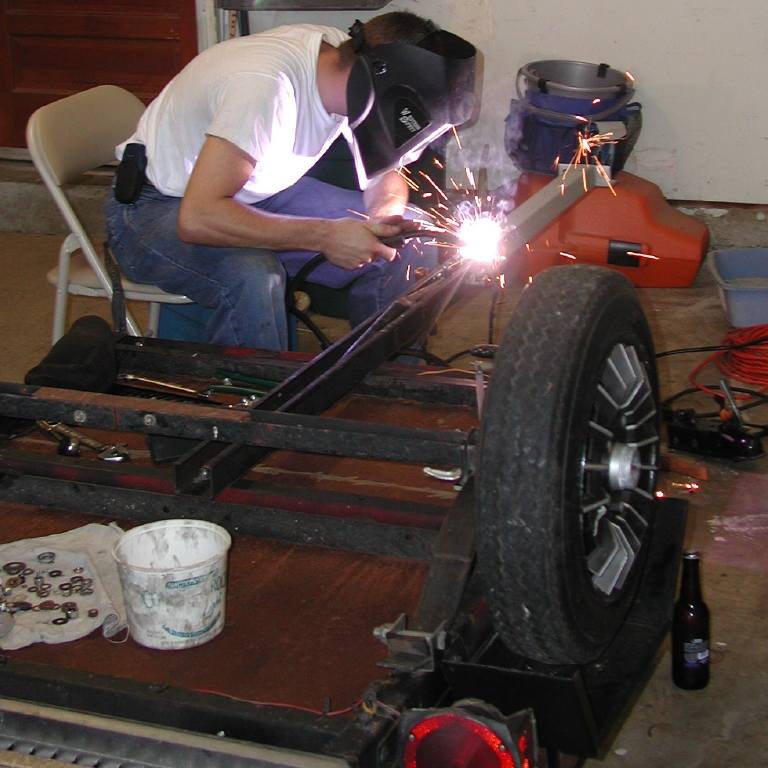
I worked on the trailer all this past weekend, and it's about 98.4% complete. It's fully functional as-is, mind you, but there are a couple of wee enhancements I'd like to make to make it more user-friendly. Cut to the chase, I pulled it for the first time this morning:
And now All You Ever Wanted To Know About Ricky's Motorcycle Trailer, But Were Afraid To Ask...


My trailer started life as a Harbor Freight kit, as his did Mr. Gadgets, and not only were his tips and tricks invaluable, but the mere existence of the page provided the motivation to get off my butt and make it happen.

It breaks down like this:
* Trailer, used - $100
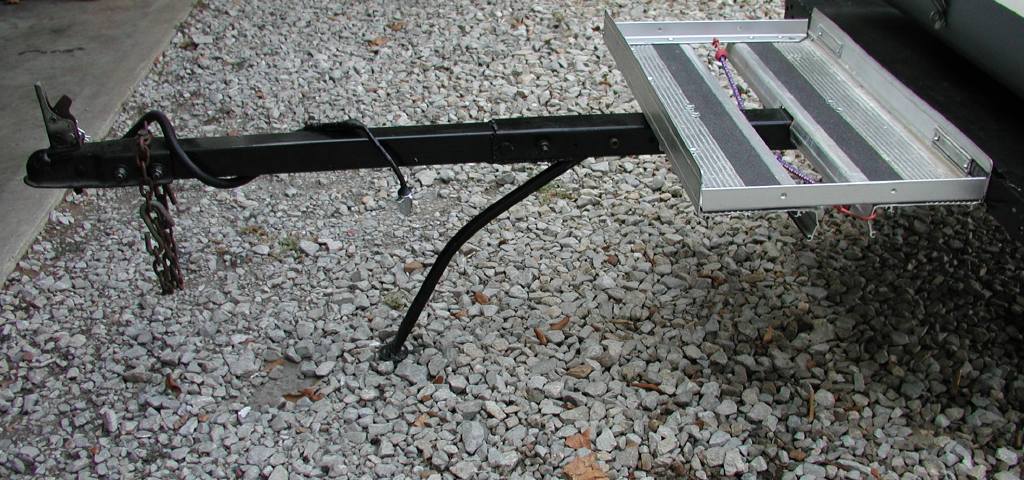
* Extended the tongue by 24", using the 2 x 2 main beam from an old engine stand - had it laying around so it was free, basically. But I did pay something like $15 for it at a garage sale some years back.. so call it $15
* Removed the 2nd leaf spring, added rubber hose to rear spring shackle bolt (great tips there!) - $0
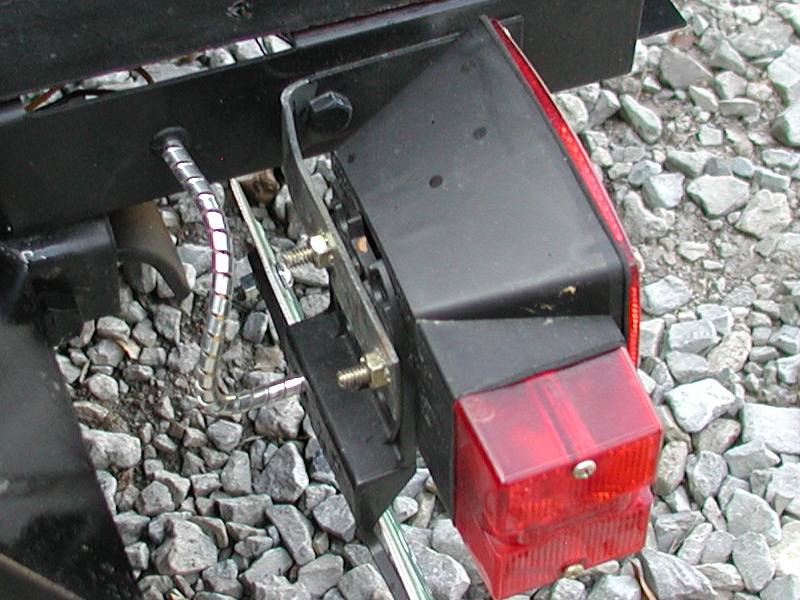
* Trashed the existing tail lights, installed a Peterson lighting kit from Wal-Mart - $24
* Installed rubber grommets at every point where the wiring passes through the frame channels. I had these laying around, in the form of a huge assortment pack bought from JC Whitney years ago.. call it $2.00
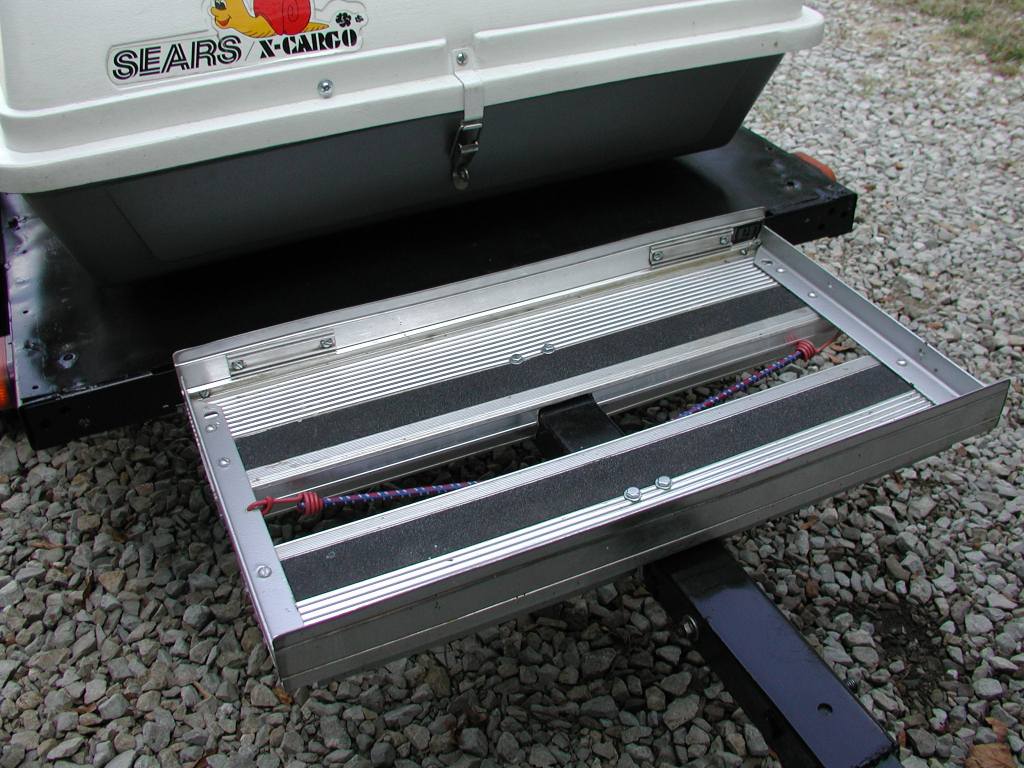
* Fabricated a cooler carrier frame using an aluminum truck running board that's been in my junk pile for years. It looked a little shaky, so I added support brackets made from 1" steel L-channel, again, from the junk pile. It's solid as a rock now! Cost was $0
* I particularly liked the wire sheaths Gadget used at the tail lights and, lo and behold, had something similar laying around. Did have to buy a 24" wire sheath for the hookup at the front. Cost of both, and I'm way overestimating, was $5.
* My trailer had a folding 'kickstand' on it when I bought it. Way different concept than Gadget's, though, being a length of 1" round steel tubing that's bolted to the CENTER of the original tongue, and pivots up into the open bottom section of the tongue. It was a little shaky, so I rebuilt the pivot. Pretty slick setup, but having that mechanism in such close proximity to my wiring harness worried me. Didn't want the wires t' get pinched! So I ran a section of hose all the way down the tongue, then ran the wires through that. Good to go! I even added a foam cradle which the stand nestles into when it's folded up, hoping to pre-empt any nasty rattles from that area. Total cost $0
* Sears X-Cargo cartop carrier. I bought this back in the mid-1980's, and it looks great.. once I cleaned off the pigeon droppings it had accumulated sitting in the barn for a decade.
I don't know how to put a price on this, really.. I'm tempted to say that it's already paid for itself, and put a $0 cost on it. * My trailer, which was already painted black when I got it, has a deck made from medium-gauge steel sheet. spot-welded to the trailer frame. Now, it MIGHT have been OK bolting the X-Cargo drirectly to that.. but better safe than sorry, I say, so I fabricated support beams that pass under the X-Cargo mounting points, and bolt directly to the trailer frame. I used 1" steel L-channel, same source as the support brackets for the cooler carrier. Cost was $0
* Greased the wheel bearings. The trailer came with Bearing Buddies already installed, so I just got out the grease gun and shot about 6 ounces into each wheel. Call it $2
That's about it. Well.. I did touch up the paint. And bought some misc. nuts 'n' bolts and other doodads:
* Can of paint, misc. doodads - and this is probably way over-estimated - but let's call it $20
The Grand Total, then, comes up to $193. Not bad! Even If I'd had to buy the X-Cargo, I feel sure that I could've brought the whole project in for under $300.
'course, I DID drop $57 on the Hoppy #46255 Electronic Power Taillight Converter, but that goes on the tow vehicle, so we don't count that.
Got the Hoppy at NAPA.. I could've saved $15 or at Wal-Mart or AutoZone.. IF they'd had it in stock. NAPA did have it, when I needed it, so I don't mind a forking over a few extra bucks. All in all a fun project, and IMHO a much better value than dropping $4,000+ on a trailer from Brand B. Or even $600 on a Piggy Backer which is, basically, the same setup as I ended up with. Call it the Poor Man's Motorcycle Trailer. If they were watches, the Bushtec 'd be a Rolex, the Piggy Backer a Seiko, and mine's a $20 Wal-Mart quartz. Nothing wrong with that, IMHO!
-Ricky
Messages In This Thread
![]() Bob
Bob
But apparently a '95 Chevy 1-ton 4x4 is not out of the
question. -Ricky ![]()
'Poor Man's' Watch Forum - Foro de Relojes Para el 'Hombre Pobre' - Horlogeforum voor de 'Arme Man'